Is your home’s exterior starting to show signs of age or wear? If you’re noticing cracks, fading color, or rough patches, it might be time to consider stucco resurfacing. This simple yet effective process can breathe new life into your property and improve its curb appeal without the need for a full replacement.
Let’s explore some helpful tips to make your stucco resurfing project smooth, efficient, and long-lasting. Whether you’re a homeowner or property manager, these tips will help you get the best results possible.
Why Choose Stucco Resurfacing?
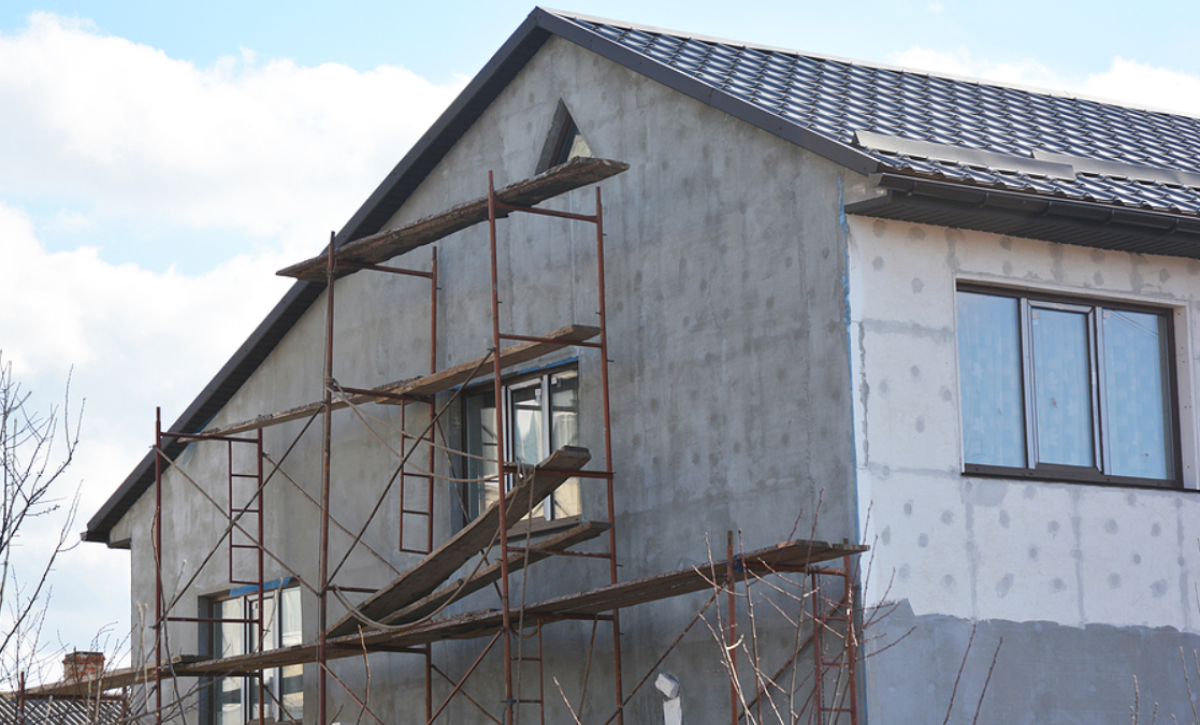
Over time, even the best stucco finishes can start to deteriorate. Weather, moisture, and age all take a toll. Instead of tearing everything down, resurfacing old stucco walls is a smart, cost-effective solution. It involves applying a new coat of stucco over the existing surface, giving it a fresh appearance and better protection.
Working with a trusted San Diego Stucco Contractor ensures the job is done properly, with attention to detail and quality materials.
Tips for Resurfacing Old Stucco Walls
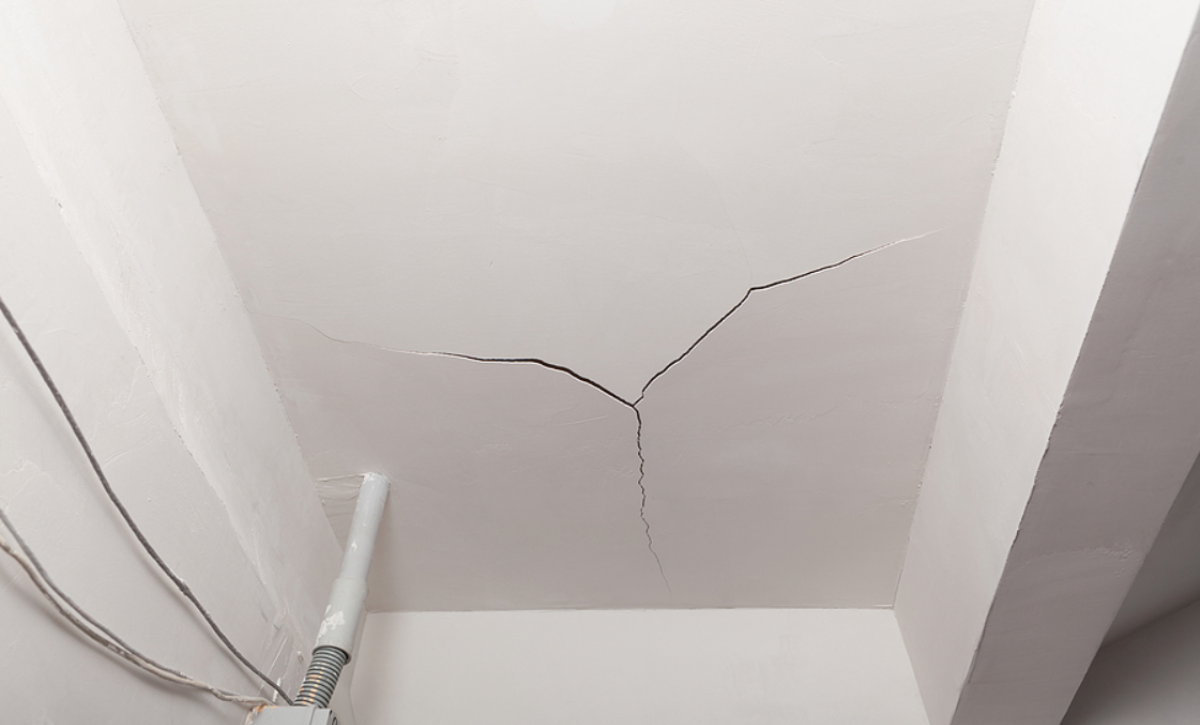
1. Inspect the Existing Surface Thoroughly
Before jumping into stucco resurfacing, take time to inspect your current walls. Look for deep cracks, mold, loose material, or moisture damage. Minor hairline cracks are common and can be resurfaced easily. However, if there’s extensive damage, stucco repair may be needed first.
A professional San Diego stucco contractor can help determine the right approach for your specific needs.
2. Clean the Walls Completely
Proper cleaning is key to successfully resurfacing old stucco walls. Dirt, dust, and loose stucco will prevent the new layer from bonding well. Use a pressure washer if needed, and allow time for the surface to dry before moving to the next step.
3. Repair Before You Resurface
Don’t apply new stucco over damaged areas. Patching cracks and repairing any broken sections is essential before applying a fresh layer. This step helps the new stucco adhere better and ensures your walls last for years to come.
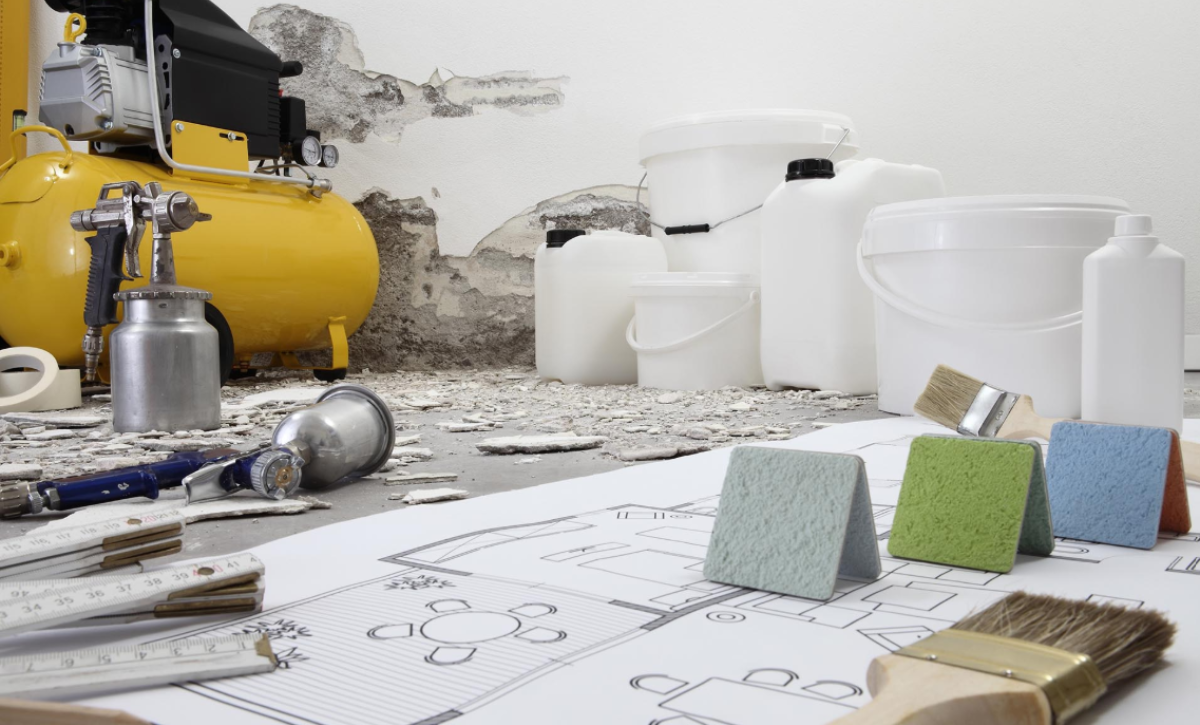
4. Choose the Right Stucco Mix
When it comes to stucco resurfacing, not all mixes are the same. The right mix will depend on the original material, the climate, and the final texture you want. A professional can help select the best stucco mix for your project to ensure proper bonding and a smooth finish.
5. Don’t Skip the Curing Process
After applying the new layer, it’s important to let the stucco cure properly. This usually takes several days, depending on the weather. During this time, avoid any heavy contact or moisture exposure. Allowing the stucco to cure fully prevents future cracks and increases durability.
Working with the Right Contractor Matters
While some homeowners consider DIY options, stucco resurfacing is a project that benefits from professional experience. Skilled contractors understand the materials, the timing, and the small details that lead to lasting results. Hiring a San Diego stucco contractor ensures your investment is protected and your home looks its best.
Final Thoughts: When to Resurface Your Stucco
If your exterior is starting to look tired, don’t wait too long. Resurfacing old stucco walls is best done before severe damage occurs. Catching issues early saves money and helps maintain your home’s value and appearance.
Plus, a smooth and freshly coated surface enhances insulation and weather protection. With the right contractor and proper steps, your home can look brand new again.
Have questions or want a quote? Call Sunny Coast Stucco today at (619) 230-5203.
Licensed California Stucco Contractor (#1045778) with over 20 years of hands-on experience in stucco installation, repair, waterproofing, and exterior restoration throughout San Diego County.